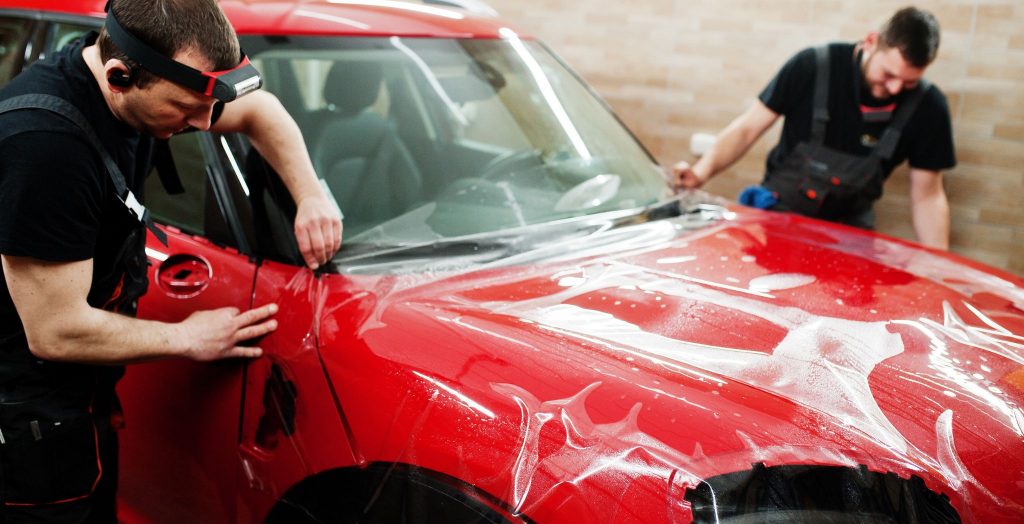
Clear Water Rinse Prior to Washing
Initiating the car detailing process by dousing the vehicle with clear water is a fundamental step. Washing a dry paint surface with soapy water will only grind the existing surface dust and road grit into the paint finish. Professional detailers prioritize commencing with a thorough clear water rinse to eliminate as much dust and dirt as possible.
Opt for the Appropriate Cleaning
Agent While dishwashing liquid is a popular choice among DIYers, it is not the ideal option. Dishwashing detergent is overly harsh, extracting essential oils from the car’s finish and potentially reducing the longevity of the paint. A proficient car detailer opts for specialized car wash soap, such as Meguiar’s Gold Class Car Wash, designed for professional car detailing.
Switch from Sponges to Microfiber Mitts
Conventional sponges tend to trap and retain dirt and grit within their substantial pores. Even when wrung out, the embedded grit persists. Once grit becomes embedded, washing the car is akin to using sandpaper. In contrast, a seasoned car detailer employs a microfiber car wash mitt, as the grit easily dislodges during rinsing.
Implement the Two-Bucket Method
Employ two separate buckets, one for clean soapy water and the other for rinse water. After each wipe, immerse the used wash mitt into the rinse water bucket, agitating it to dislodge dirt and grit. Subsequently, dip it into the soapy water to resume cleaning. Before moving to the other side of the car, empty the dirty rinse water, refill with fresh water to maintain the cleanliness of the soapy water.
Opt for Microfiber Towels Over Chamois for Drying
While chamois can effectively soak up water, they fall short in capturing residual grit post-rinsing. Instead, they tend to grind these particles into the paint, potentially causing damage. Conversely, a microfiber towel adeptly collects these particles. Utilize a microfiber towel in clean water to eliminate grit and moisture. Wring out the towel as needed to continue the drying process.
Address Minor Scratches Prior to Polishing
This critical step distinguishes between DIYers and seasoned professional car detailers. Polishing enhances the shine of the car’s surface but doesn’t eliminate scratches. However, by first addressing minor scratches using a scratch removal kit and then proceeding to polish, you can achieve an even more radiant shine. Scratch removal kits are readily available at any auto parts store.
Acquire a Dual-Action Polisher
A dual-action polisher is an indispensable tool for any car detailer. It’s important to differentiate this tool from a high-speed buffer, which operates at significantly higher speeds and can potentially damage the paint if not used correctly. On the other hand, polishers function at lower speeds and employ an oscillating motion as they rotate. Polishing with a dual-action polisher is easily grasped by DIYers within a few minutes. Incorporating polishing before applying wax yields significant benefits.
Opt for Synthetic Wax
While traditional paste waxes may enhance the appearance of antique cars, they lack the luster and durability characteristic of modern synthetic waxes, which impart a desirable “wet look.” Additionally, synthetic waxes last longer than their traditional counterparts. Many times, when car dealers promote paint sealants, they’re essentially applying a high-quality synthetic wax—something you can undertake yourself at a fraction of the cost. Apply synthetic wax in manageable sections using a wax applicator sponge.
Remove Wax Residue with a Microfiber
Towel Indeed, microfiber towels stand as essential tools for car detailers everywhere. Employ circular motions to wipe off any wax residue. As the towel accumulates wax, refold it to access a cleaner section. When the first towel reaches its capacity, switch to a second towel to continue the process.
Commence from the Top
In typical DIY approaches, the cleaning process usually initiates with the carpet, inadvertently leading to the redistribution of dirt from the dash, seats, and door panels back onto the freshly cleaned carpet. However, professional detailers adopt a top-down strategy, commencing from the highest points and gradually working their way down to the carpet.
Simultaneous Cleanup
Employ a small detailer’s brush in conjunction with a shop vacuum to effectively eliminate dust and dirt from all the intricate crevices present on your dash and console. This approach is a fundamental tool in the realm of professional car detailing. Position the shop vacuum wand in close proximity to your brush to instantly suction away all the debris while progressing towards the floor.
Thorough Carpet Brushing and Vacuuming
Automotive carpets tend to retain dirt tenaciously. Merely using a vacuum cleaner may leave a substantial amount of dirt behind. To achieve a more comprehensive dirt removal, detailers utilize a robust brush to vigorously scrub the carpet while simultaneously employing a vacuum. This process reveals dirt particles, allowing you to promptly suction them up using your shop vacuum.
Utilize a Silicone-Free Matte Finish Dash and Vinyl Protectant
Conventional silicone-based dashboard protectant sprays tend to leave a slippery film on your dash, attracting more dust and necessitating frequent cleaning. Moreover, a glossy dashboard can cause reflections on the windshield, potentially impeding your visibility, especially during nighttime. This is why professional detailers opt for silicone-free protectants with a matte finish. Not only do they maintain an appealing appearance, but they also minimize glare.
Lubricate Door Seals
It’s likely that you wiped away any lubricant from the door seals while cleaning the door. Detailers always ensure to reapply silicone spray to treat the seals. Simply spray some onto a rag and wipe it across the entire door seal. The silicone serves to prevent the seals from sticking, both in hot summers and cold winters.
Conclude with the Glass
If you cleaned the interior windows prior to the dashboard and vinyl protectant, you’ll find the need to clean them once more. Hence, detailers reserve glass cleaning for the final step. Cleaning the windows at this stage removes any overspray from previous cleaning and vinyl treatments, leaving you with impeccably clean windows.
