Indeed, spark plug wires can wear out over time. This is because, despite their name, spark plug wires are not actually made of wire, but of delicate carbon fibers.
Over time, these fibers can break down, causing the wires to separate and leading to high electrical resistance. High resistance can degrade the spark, resulting in poor combustion, misfires, reduced fuel efficiency, and eventually, a glowing “Check Engine” light. If left untreated, the wires can begin to leak voltage to nearby engine parts, leading to arcing, serious performance problems, and even ignition component failures.To avoid such problems, it is recommended to replace spark plug wires before they wear out. We recommend doing so when you change the spark plugs, or at intervals specified by your owner’s manual (typically between 100,000 and 160,000 kilometers).In this article, we will outline the materials and tools you will need and provide a step-by-step guide to help you do a quality job of replacing the wires yourself. By doing the job yourself, you can save at least an hour of shop labor charges and avoid costly diagnostic fees associated with worn spark plug wires. The entire process is relatively easy and should take only about an hour.
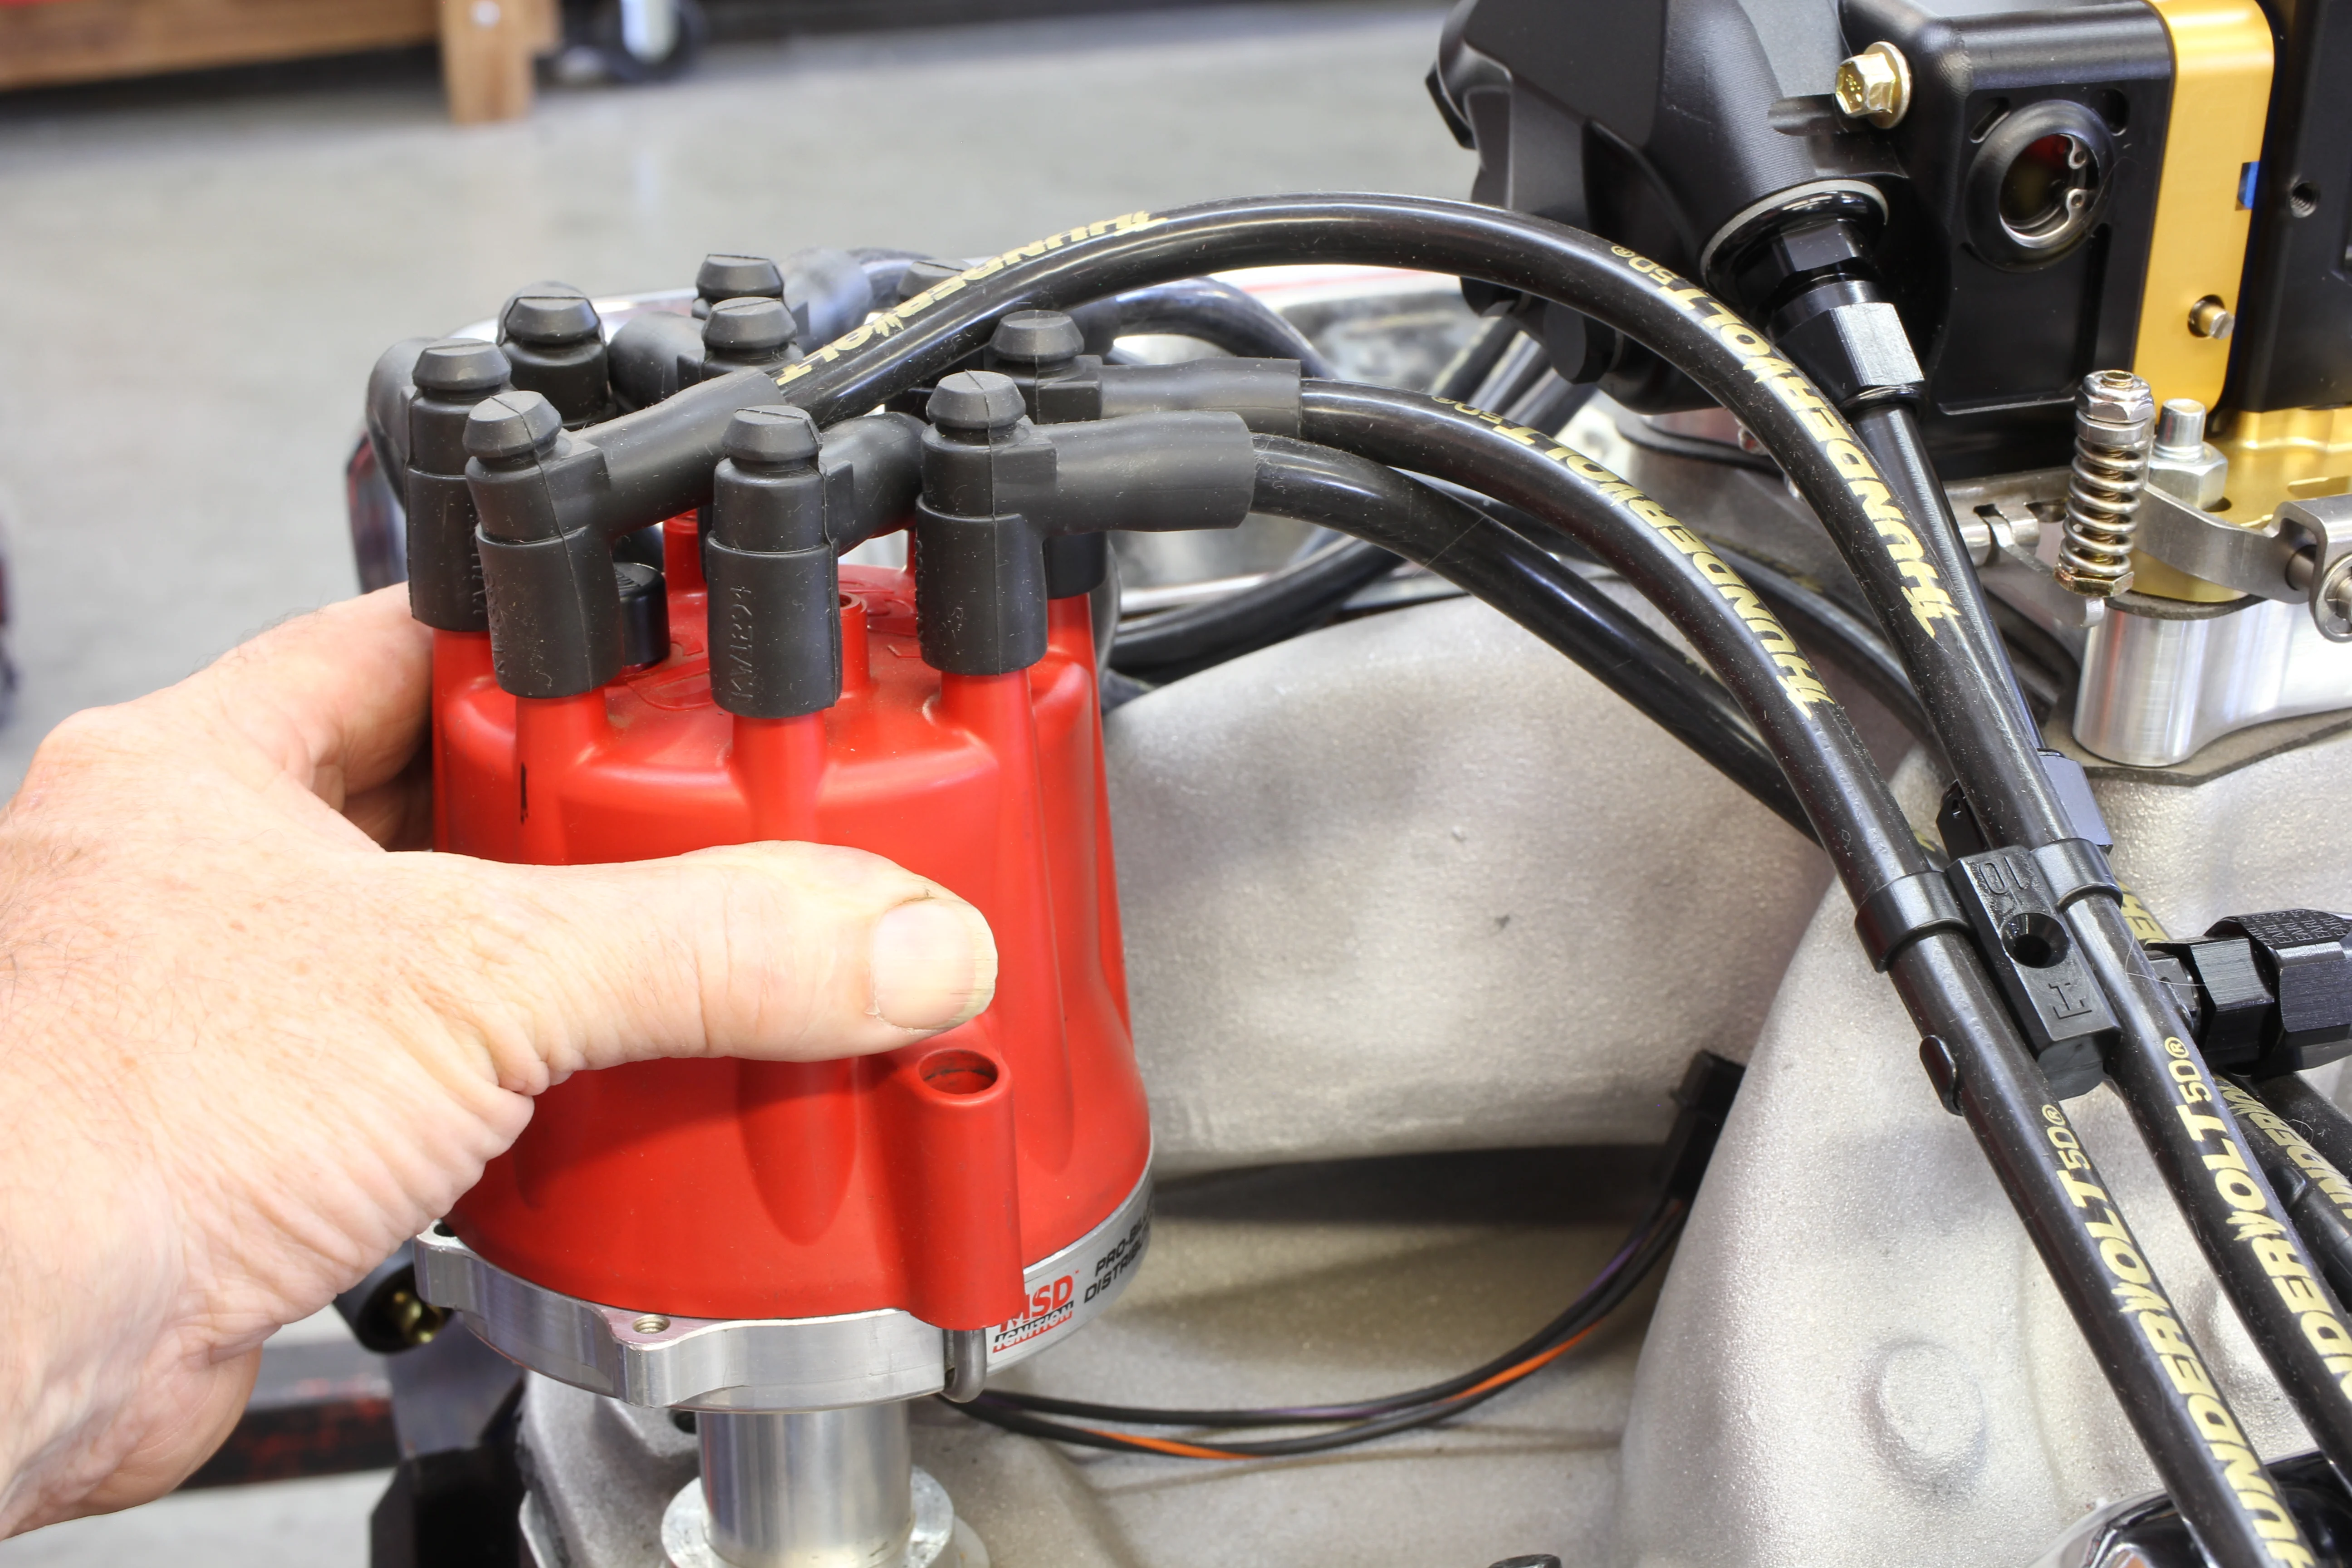
Before starting the task, use a digital camera to document how the wires are attached to the coil/distributor/coil pack and the path they follow to each plug. Observe how each wire wraps around the others and how they are positioned in the plastic retaining clips. They are arranged in this manner to prevent cross-firing and interference with other engine sensors. So, ensure that you reinstall them in the same way.Unwind the new spark plug wires and sort them by length. When you visit the auto parts store, we suggest that you purchase a premium set of wires. The economy wire set we examined did not match the factory connectors, and the individual wires were either too long or too short for our vehicle. The premium set comes with a lifetime warranty, while the economy set only offers a two-year warranty.Next, invest in a spark plug wire puller tool. This tool makes removal a lot easier and saves you from a lot of scraped knuckles. To use it, just grip the boot with the rounded jaws, rotate left and right, then pull straight out. This is a tool that is worth investing in. Use the wire puller to turn the boot and break the seal from the plug, then remove the old plug. Match the old wire length to the new wire.Some manufacturers pre-coat the insides of the plug and coil/distributor boots with dielectric silicone grease. The grease prevents the boots from sticking to the plug or coil/distributor, as well as providing an additional layer of insulation to prevent voltage from traveling down the inside of the boot. If your set isn’t pre-coated, purchase a small tube of silicone grease and apply a bead around the inside of each boot. Apply dielectric grease to both the plug and the coil/distributor end of each wire. Route the wire and press it onto the plug/coil tower until it clicks.Remove one old wire at a time and match it to a replacement wire of the same length. Route the new wire and push the boot onto the plug or coil/distributor until you feel it click. Repeat this process for each wire.
0 comment
Mike: I’ve replaced spark plug wires before, but this guide still had some useful tips that I hadn’t thought of. I appreciated the emphasis on safety and the clear explanations of each step.
John: I found this guide to be very comprehensive and easy to follow. It’s great for someone who is new to working on cars or just needs a refresher. The step-by-step instructions and pictures were especially helpful.
I wish I could learn a new language.
Tom: I was intimidated at first to replace my spark plug wires, but this guide made it super simple. The step-by-step instructions and accompanying pictures were easy to follow, and I had my wires replaced in no time.
My phone keeps buzzing.
I’m really craving some ice cream.
Sarah: I was hesitant to replace my spark plug wires because I didn’t want to mess anything up, but this guide made it seem much less daunting. The author’s writing style was approachable and made the process seem manageable.
I need to go grocery shopping later.
Karen: I was impressed with how well-organized and detailed this guide was. It covered everything from safety precautions to specific tools you’ll need, and I appreciated the author’s attention to detail. I highly recommend this guide to anyone looking to replace their spark plug wires.
I have a lot of laundry to do.
Emily: I’m not the most mechanically inclined, but this guide gave me the confidence to tackle replacing my spark plug wires. The steps were straightforward, and the author even provided some troubleshooting tips in case something went wrong.