
Introduction
Modern vehicle tires, renowned for their durability and resilience against challenging terrains and extensive mileage, are not impervious to damage. Periodically, car tires may develop leaks, causing air to escape. The location of these leaks determines the feasibility of a self-repair or the necessity of seeking professional assistance or even replacing the tire.
The type of tire, whether tubed or tubeless, also plays a crucial role, as only tubeless tires can be effectively repaired using the plugging technique outlined in this guide. Fortunately, contemporary vehicles are predominantly equipped with tubeless tires, rendering rubber plug repair a viable option.
However, the possibility of plugging a tubeless tire hinges on the puncture’s location within the tread area. If the air leak occurs where the tire’s sidewall meets the rim, commonly known as a “bead leak,” a visit to a mechanic with a tire machine is imperative. The tire needs to be dismounted from the rim and remounted with sealing liquid applied to the bead. In the event of sidewall punctures, a new tire is essential, as damage in this region could result in a hazardous blowout, particularly at high speeds, even after repair.
In this guide, we will elaborate on the precise steps involved in plugging a tire. Armed with this knowledge, you will be well-prepared to swiftly address tread punctures and resume your journey in no time.
The total time required to complete this repair is approximately 15 minutes. Opting for a DIY approach not only saves you around $20 but also eliminates the need to travel to an auto shop and endure wait times.
Tools Required
- Car jack
- Pliers
- Spray bottle
- Tire plugging kit
- Wire cutters
Materials Required
- Paper towels
- Soap and water solution
- Tire plug strips
- Tire sealing cement
Locating the Leak
- Inflate the tire sufficiently to achieve firmness and resistance to finger pressure.
- Thoroughly inspect the tire to pinpoint the leak. Wheel removal is unnecessary for this step, but using a car jack to elevate the vehicle, relieving pressure on the tire for rotation, can be beneficial.
- If the leak’s location is not readily apparent, methodically spray the tire with a mixture of 20% soap and 80% water using a spray bottle. The emergence of consistent bubbles will indicate the leak’s precise location.
- Utilize pliers to remove any foreign objects such as nails, screws, staples, or loose metal that may be causing the leak.
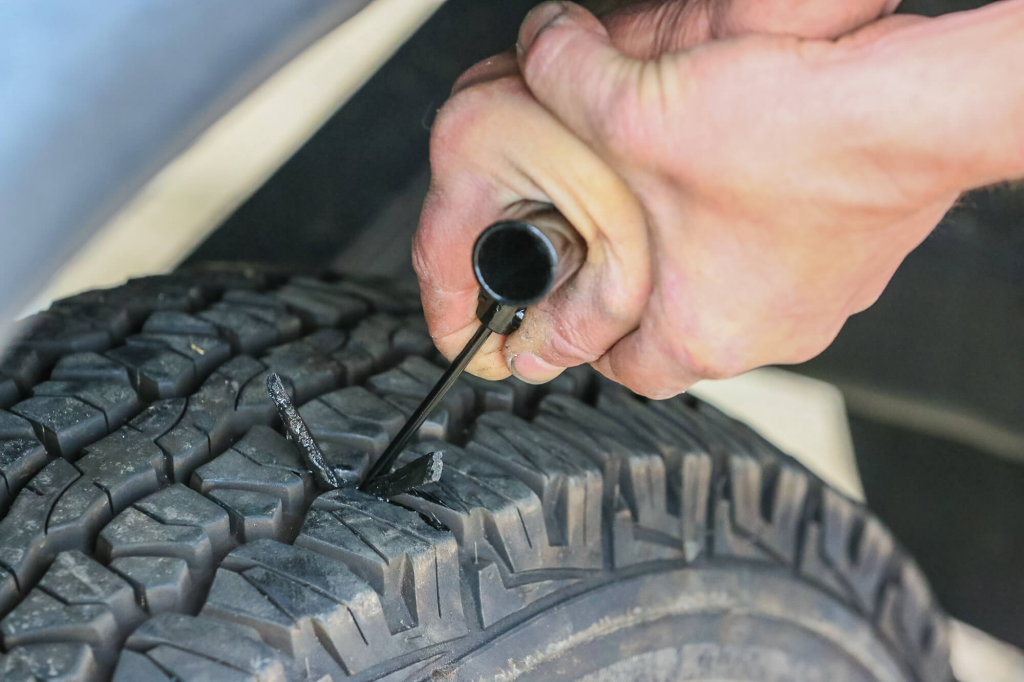
Reaming the Hole
- Insert the T-handle reaming tool firmly into the hole and move it up and down while rotating to widen the hole and create a rough inner surface, preparing it for the plugging process.
- Remove the reaming tool and examine the hole. If it is not yet uniformly round, reinsert the reaming tool and repeat the up and down movement to achieve the desired shape.
- Occasionally, for very small holes, the reaming tool may not fit into the tire. In such cases, use a handheld drill with a bit slightly smaller than the reaming tool’s diameter. Enlarge the hole with the drill and then utilize the reamer to roughen the hole’s sides.