To ensure a long lifespan for your motorcycle’s sprocket and chain, it is essential to maintain a clean, well-lubricated, and properly adjusted chain. However, even with regular upkeep, the chain eventually wears down, causing both sprockets to wear as well. Once a sprocket displays wear, it is recommended to replace the chain and both sprockets simultaneously.
To begin, loosen the drive sprocket nut, which can be found under the transmission cover. This nut is often held in place with metal tabs, so bend them down before attempting to loosen the nut. With the rear wheel on the ground, use a breaker bar and socket to loosen the nut.
Next, use the motorcycle’s built-in stand, blocks and jack stands, or a motorcycle jack to raise and support the bike, with the latter being the safest option as it provides the best side-to-side stability.
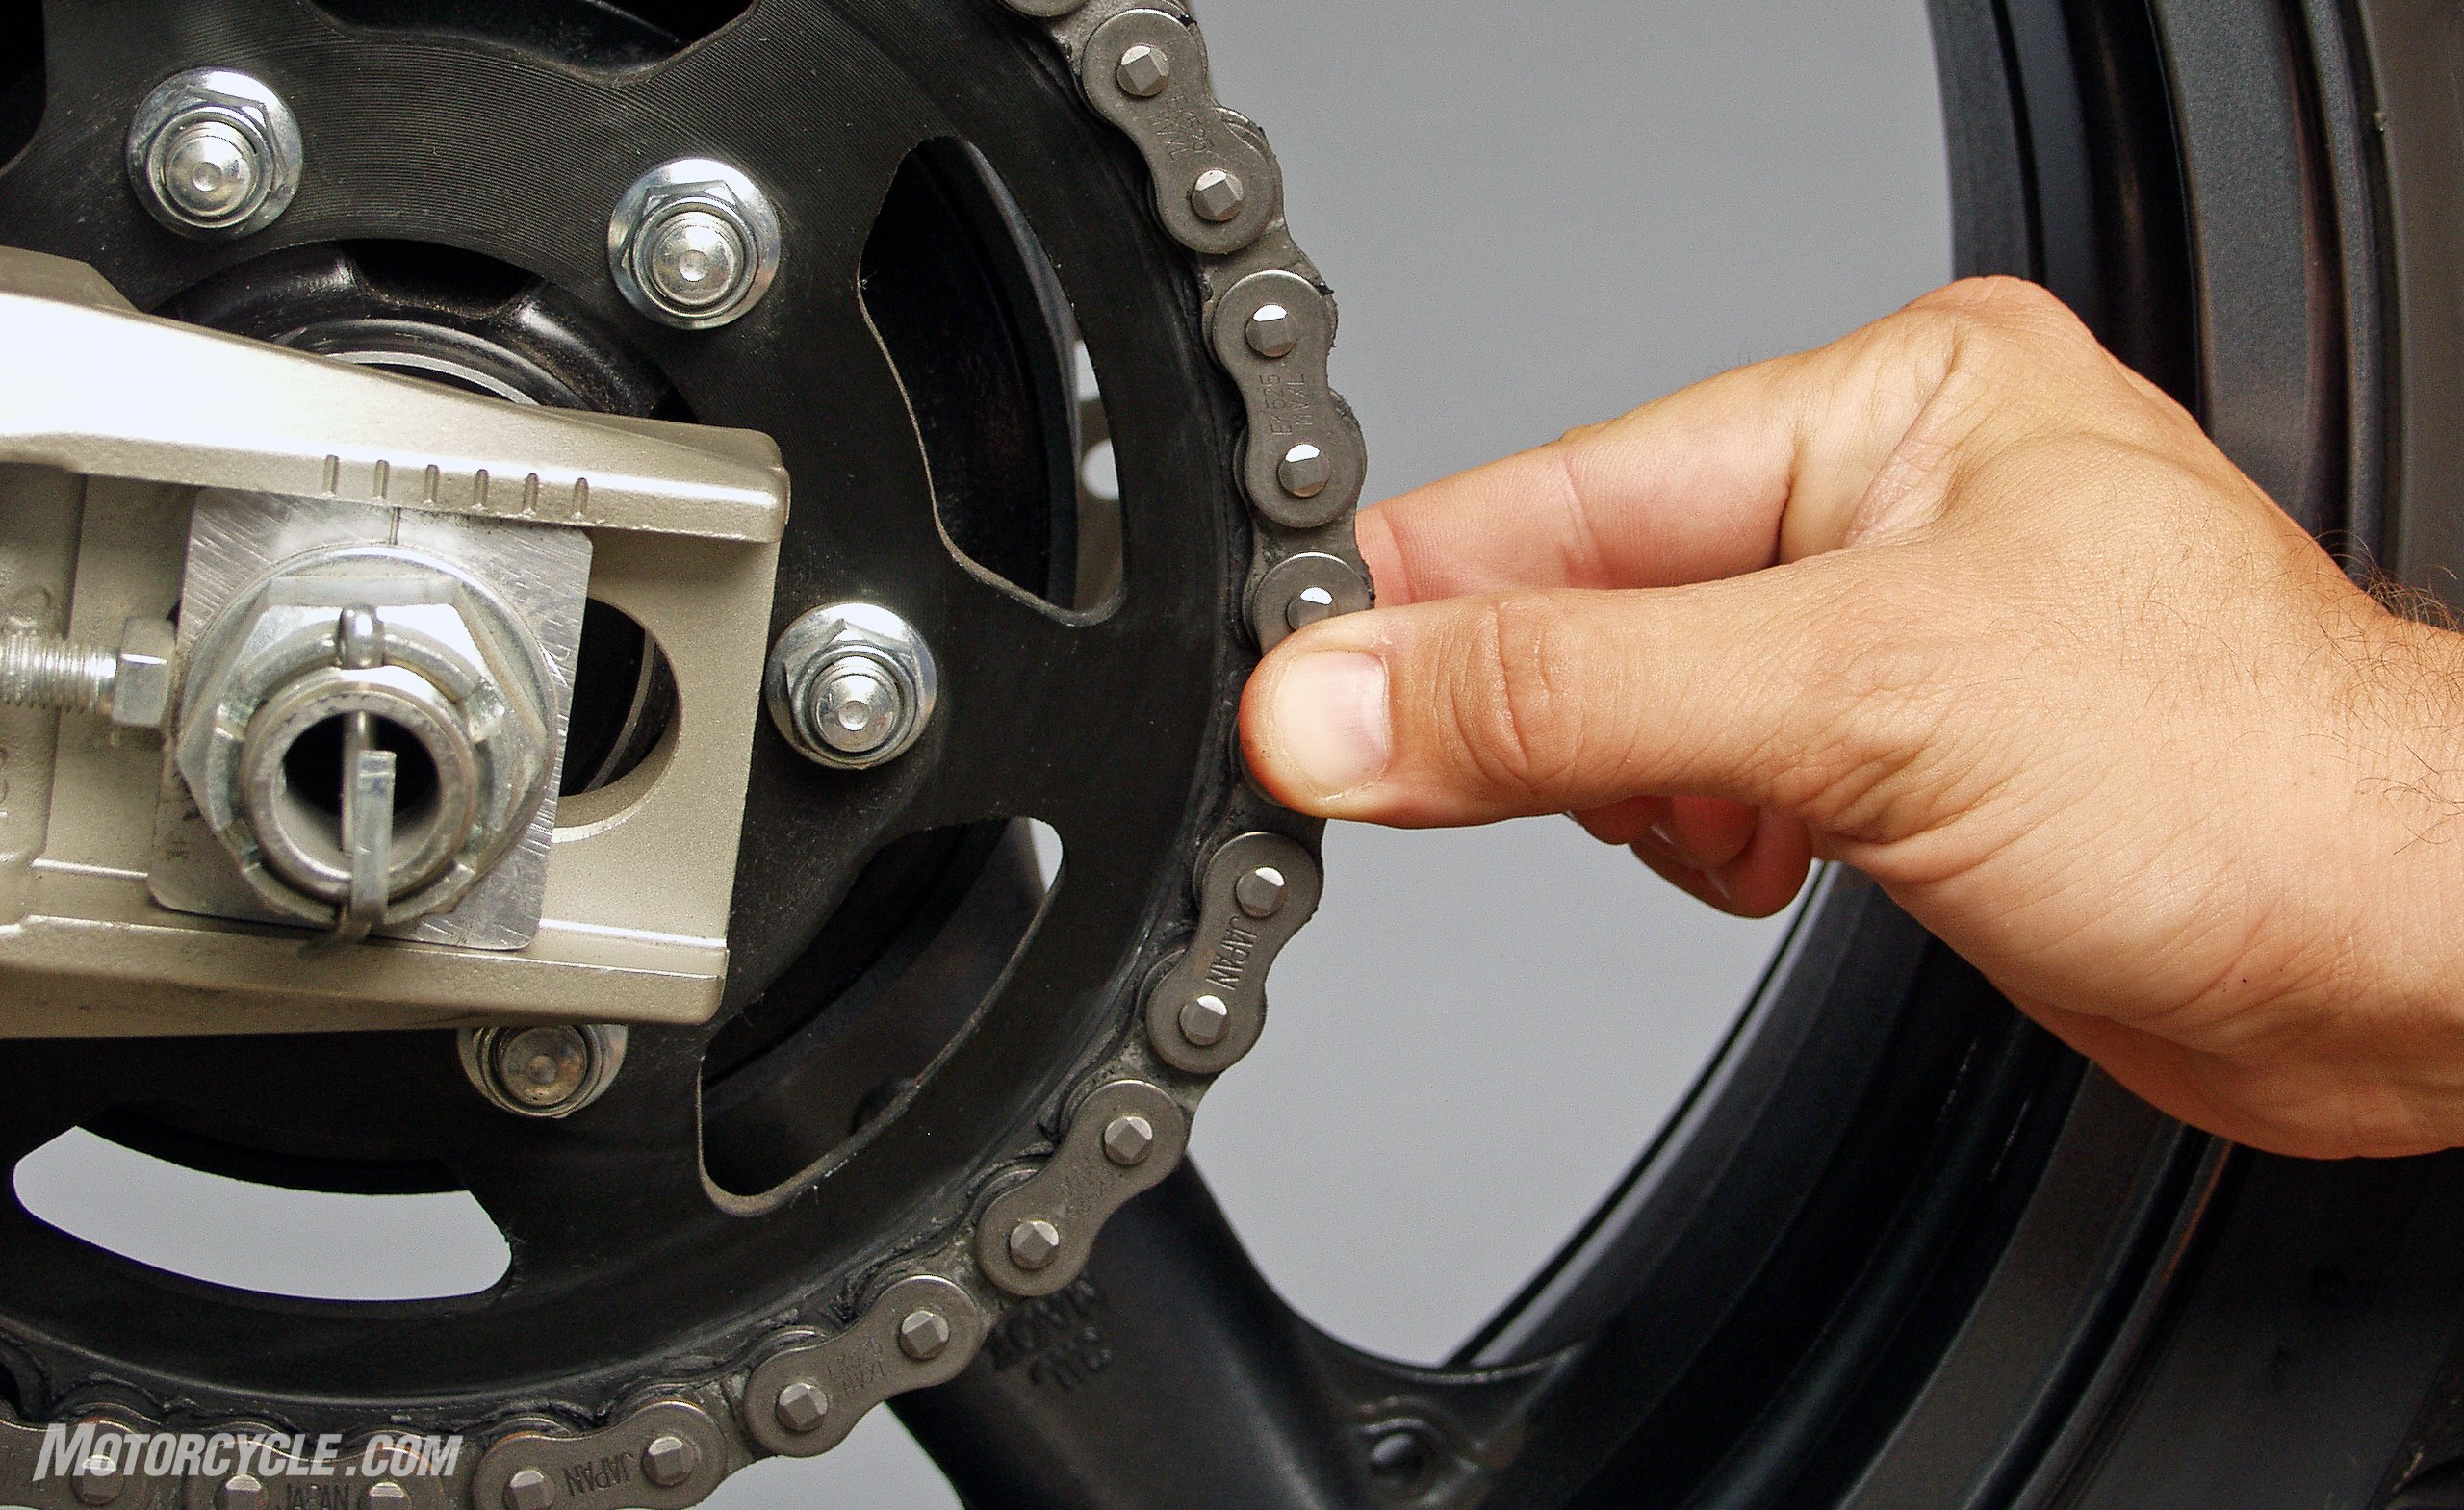
Relieve the chain tension by loosening the chain adjusting bolt and rear axle nut, then push the rear wheel forward and remove the chain. If the chain has a master link, remove the clip with pliers and disassemble the chain. If the chain doesn’t have a master link, a chain-breaking tool will be necessary to break the chain. Dispose of the old chain.
Finally, disconnect the rear drum brake linkage and the stay. If the bike has disc brakes, remove the caliper before proceeding with the replacement of the sprockets and chain.
To ensure long-lasting sprocket and chain life, it is important to maintain a clean, well-lubricated, and properly adjusted motorcycle chain. However, even with meticulous maintenance, the chain eventually wears, which causes the two sprockets to wear as well. Once one sprocket shows wear, it is best to replace the chain and both sprockets simultaneously.
To begin, remove the transmission cover to access the drive sprocket and nut. The nut is typically secured by metal tabs that need to be bent down before attempting to loosen the nut with a breaker bar and socket, while the rear wheel is still on the ground. Subsequently, the bike should be raised and supported by its built-in stand, blocks and jack stands, or a motorcycle jack. The latter is the safest option since it provides the best side-to-side stability.
After relieving the chain tension, the rear wheel and brake assembly can be removed by sliding the rear axle out. Place the wheel on a workbench to replace the rear sprocket, and then replace the drive sprocket on the transmission. Reassembly involves installing the rear wheel, axle, and brake assembly onto the bike, followed by pushing the rear wheel all the way forward in the swing arm. The new chain can then be rolled around the drive sprocket and onto the rear sprocket with the open link located near the top of the rear sprocket. Install the master link and then adjust the chain by tightening the chain-adjusting bolts to obtain 1-inch up/down play on the bottom portion of the chain. True up the rear wheel, tighten the axle nut to specification, and insert the cotter key. Finally, torque the drive sprocket nut to specification, bend the tabs against the flats of the nut, and reinstall the transmission covers.
Similar to other industries, the motorcycle parts market is inundated with substandard imitations and counterfeit name brand parts that do not meet the original manufacturers’ specifications. Thus, it is advisable to purchase parts from authorized dealers or trusted repair shops. When shopping online, it is recommended to first check the seller’s reviews. An exceptionally low price for a name brand part is a warning sign that the part may be a fake.