
Consider replacing your motorcycle’s handlebars for a modern look. This simple upgrade can save you hundreds of dollars if you do it yourself.
If you’re still using outdated “ape hanger” handlebars from the 1970s, it’s time to update. I’ll guide you on how to replace your handlebars and save about $200.
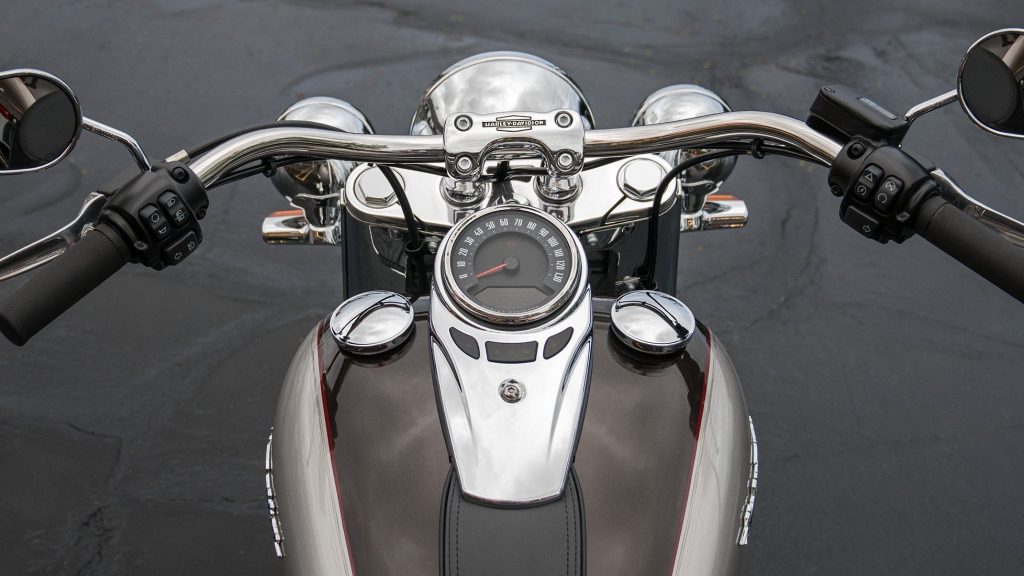
Start the project by measuring your current handlebar diameter. Choose your preferred handlebar style, but verify with the manufacturer or your dealer that it provides enough turning clearance to avoid hitting the gas tank.
You will also need shorter brake, clutch, and throttle cables, as well as a shorter brake line. Your local dealer can send your old cables for professional modification, or you can buy new cables (at approximately twice the price).
To begin, remove the headlight to access the harness splice area. Then, disconnect the wires from the handlebar harness. Next, drain the brake fluid reservoir and disconnect and remove the brake line, switches, levers, and throttle. Finally, remove the left hand grip, unbolt the handlebar, and move it to the workbench.
To update the appearance of your motorcycle, replacing the handlebars with a newer style can be a simple and cost-effective upgrade if you do it yourself. If you are still using outdated “ape hanger” handlebars from the 1970s, it may be time for a change. This project begins with measuring the diameter of your current handlebars and selecting a new style that offers enough clearance to avoid the gas tank. Shorter cables and brake lines are also necessary. You can either purchase new ones or have your old ones professionally modified at your local dealer. You will need to disconnect the wires from the handlebar harness, drain the brake fluid reservoir, and remove the switches, levers, and throttle before removing the old handlebars. After modifying the control brackets, reconnect the wiring harness and install the shorter cables and brake hose. Secure the wiring harness with zip ties and top off the brake fluid reservoir. Before you take the motorcycle for a spin, test all electrical connections and the brakes. To avoid wasting time and becoming frustrated, gather the necessary tools and materials beforehand, including a micrometer, compressed air gun, and rotary tool.
To give your motorcycle a more modern appearance, upgrading the handlebars with a new design is an easy and cost-effective DIY project. If you’re still using old-fashioned “ape hanger” handlebars from the 1970s, it might be time to switch to a newer style. This project starts with measuring the diameter of the current handlebars and selecting a new style that provides sufficient clearance to avoid the gas tank. Additionally, you’ll need to obtain shorter cables and brake lines, which you can either purchase or have modified professionally by your local dealer. To replace the old handlebars, you must first disconnect the wires from the handlebar harness, drain the brake fluid reservoir, and remove the switches, levers, and throttle. Then, after modifying the control brackets, reconnect the wiring harness and install the shorter cables and brake hose. Secure the wiring harness using zip ties, and top off the brake fluid reservoir. Before taking the motorcycle for a ride, ensure that all electrical connections and the brakes are tested. To save time and avoid frustration, make sure to gather all the necessary tools and materials beforehand, including a micrometer, compressed air gun, and rotary tool.


