
The longevity of motorcycle sprockets and chains heavily relies on regular maintenance, including thorough cleaning, proper lubrication, and precise adjustment. However, despite diligent upkeep, chains inevitably wear over time, subsequently causing wear on both sprockets. When one sprocket displays signs of wear, it is advisable to replace both the chain and both sprockets simultaneously
Loosening the Sprocket Nut: Attach a deep socket to a 1/2-inch-drive breaker bar and loosen the nut securing the drive sprocket. If the rear wheel begins to turn, have someone sit on the bike to create resistance. To access the drive sprocket and nut, remove the transmission cover. The nut is typically secured with metal tabs, so bend them down before attempting to loosen the nut. With the rear wheel on the ground, use a breaker bar and socket to loosen the nut. Subsequently, elevate and stabilize the bike using its built-in stand, blocks and jack stands, or a motorcycle jack. A motorcycle jack is the safest option as it provides optimal side-to-side stability.
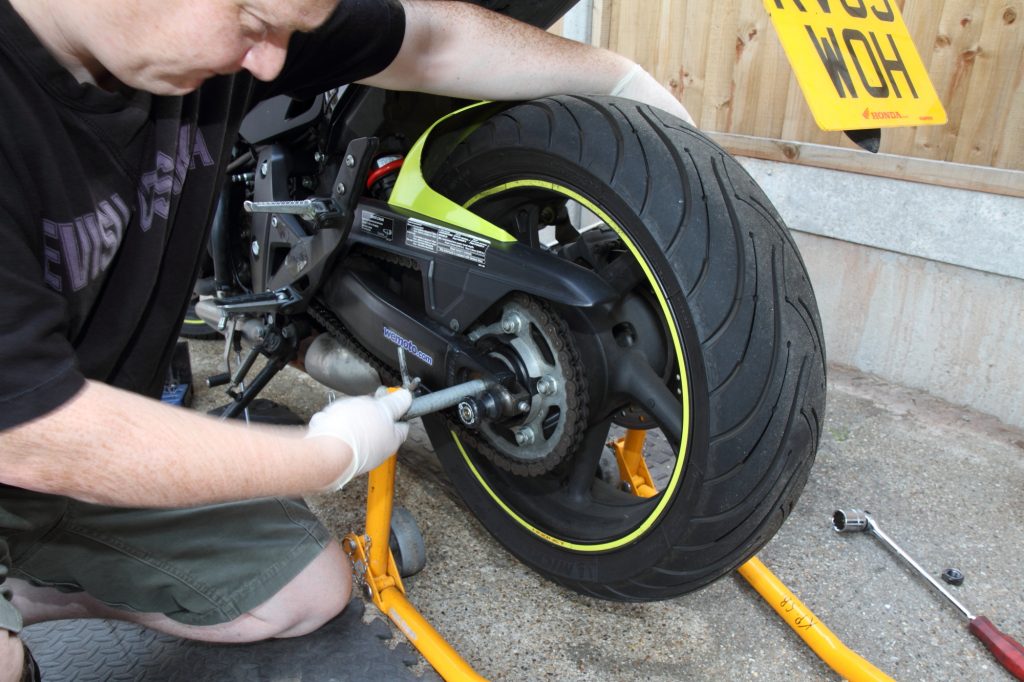
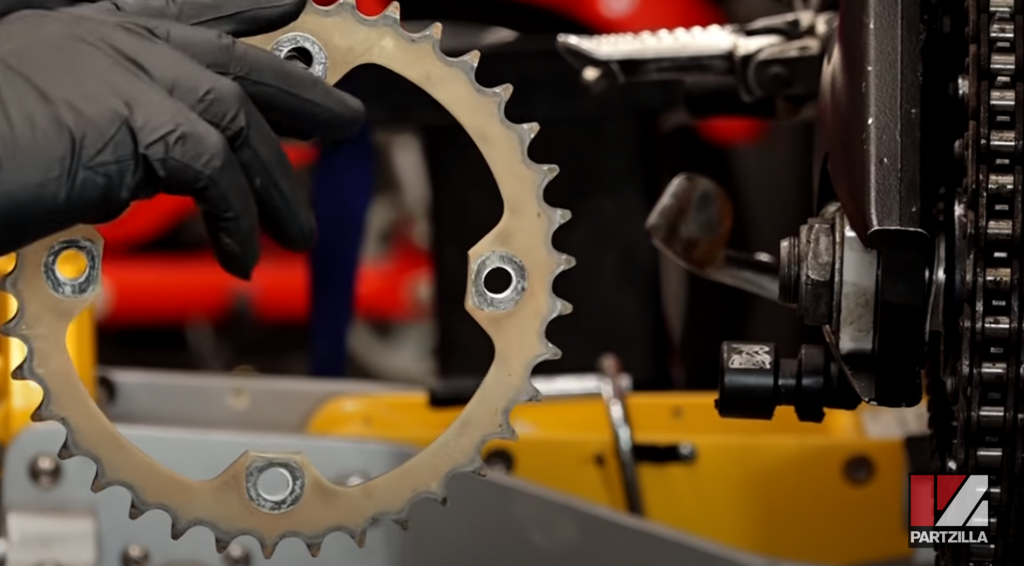
Adjusting the Rear Wheel and Removing the Chain: Place a socket or wrench on the axle nut and loosen it. Proceed to unscrew the chain-tensioning bolt, elevate the adjuster, and push the rear wheel forward within the slotted swing arm. Ease the tension on the chain by loosening the chain adjusting bolt and the rear axle nut. Push the rear wheel forward to remove the chain. If the chain possesses a master link, carefully remove the clip using a pair of pliers and disassemble the chain. If your chain doesn’t feature a master link, utilize a chain-breaking tool. Install the tool and break the chain, then dispose of the old chain. Following this, disconnect the rear drum brake linkage and the stay. If your bike utilizes disc brakes, remove the caliper. Proceed to slide the rear axle out and detach the rear wheel and brake assembly. Position the wheel on a workbench and replace the rear sprocket, followed by replacing the drive sprocket on the transmission
Installing the Chain and Finalizing the Setup: Carefully slide the master link pins into the chain ends, then proceed to install the outer plate and secure it with the provided clip. Mount the rear wheel, axle, and brake assembly back onto the bike. Ensure the rear wheel is pushed all the way forward in the swing arm and snugly secure the axle nut to maintain this position. Roll the new chain around the drive sprocket and onto the rear sprocket, ensuring the open link is positioned near the top of the rear sprocket. Install the master link. Subsequently, adjust the chain by tightening the chain-adjusting bolts to achieve a 1-inch up/down play on the lower section of the chain. It’s better to err on the side of being slightly loose rather than overly tight. Align the rear wheel correctly. Use a torque wrench to tighten the axle nut to the specified torque and insert the cotter key, if applicable. Torque the drive sprocket nut to specification and bend the tabs against the flats of the nut. Finally, reinstall the transmission covers.
In common with other industries, the motorcycle parts market is saturated with inferior imitations and counterfeit name brand parts that fail to meet the original manufacturers’ specifications. This underscores the importance of purchasing parts from authorized dealers or reputable repair shops. If you opt to shop online, carefully review the seller’s ratings and feedback. A significantly low price for a name brand part should raise concerns about its authenticity.
Apply spray chain lubricant to lubricate the chain, and rotate the wheel several times to facilitate its penetration into the links. Subsequently, ride the bike at a slow pace to shed off any excess lubricant before accelerating.
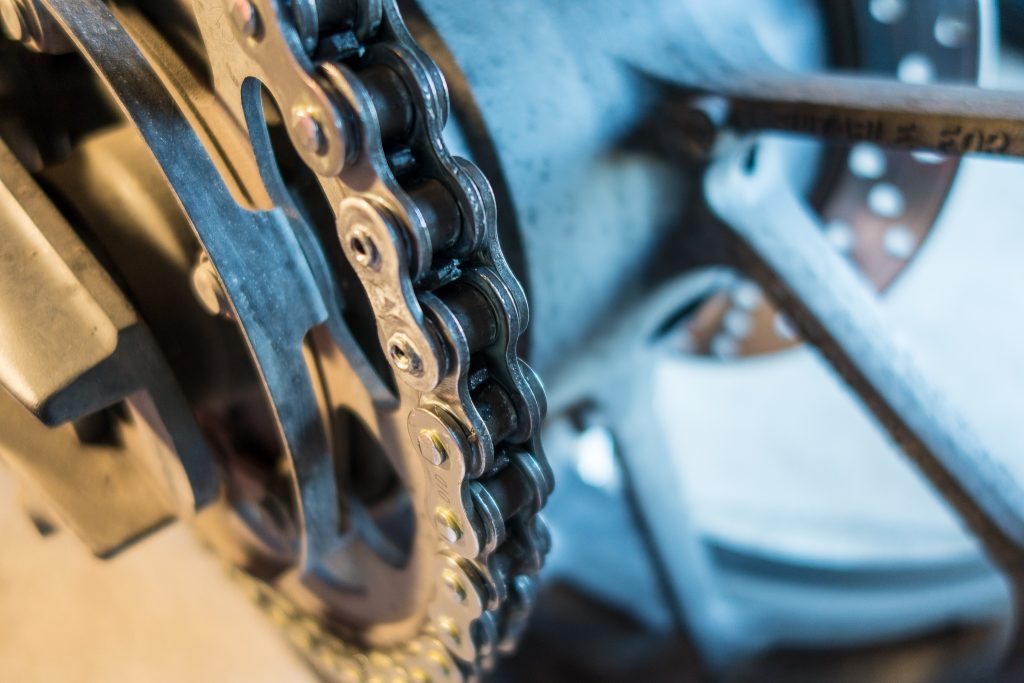
Replacing a motorcycle chain and sprockets is a crucial maintenance task to ensure optimal performance and safety. The chain and sprockets are integral components that facilitate power transfer from the engine to the rear wheel, influencing acceleration, speed, and overall bike performance. Over time, wear and tear can occur, necessitating replacement for smooth operation and longevity.