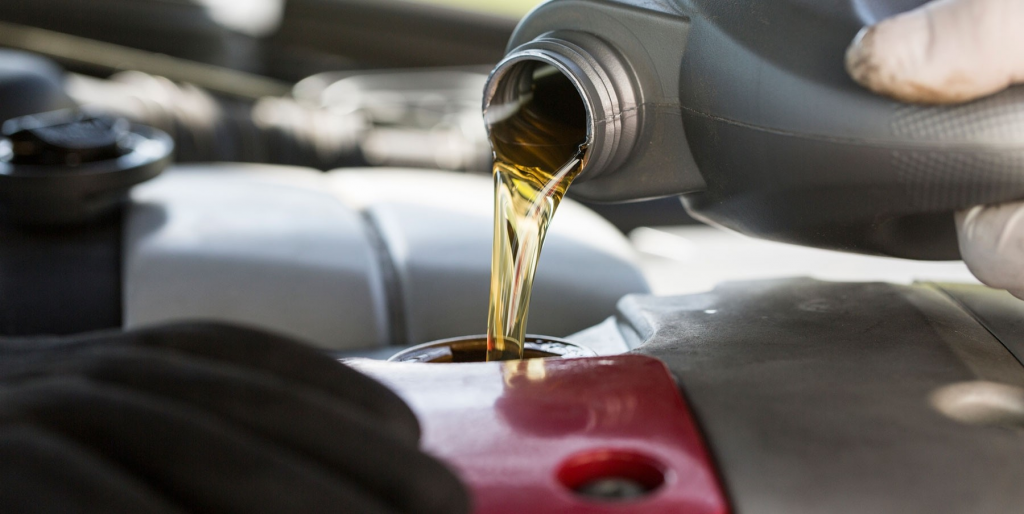
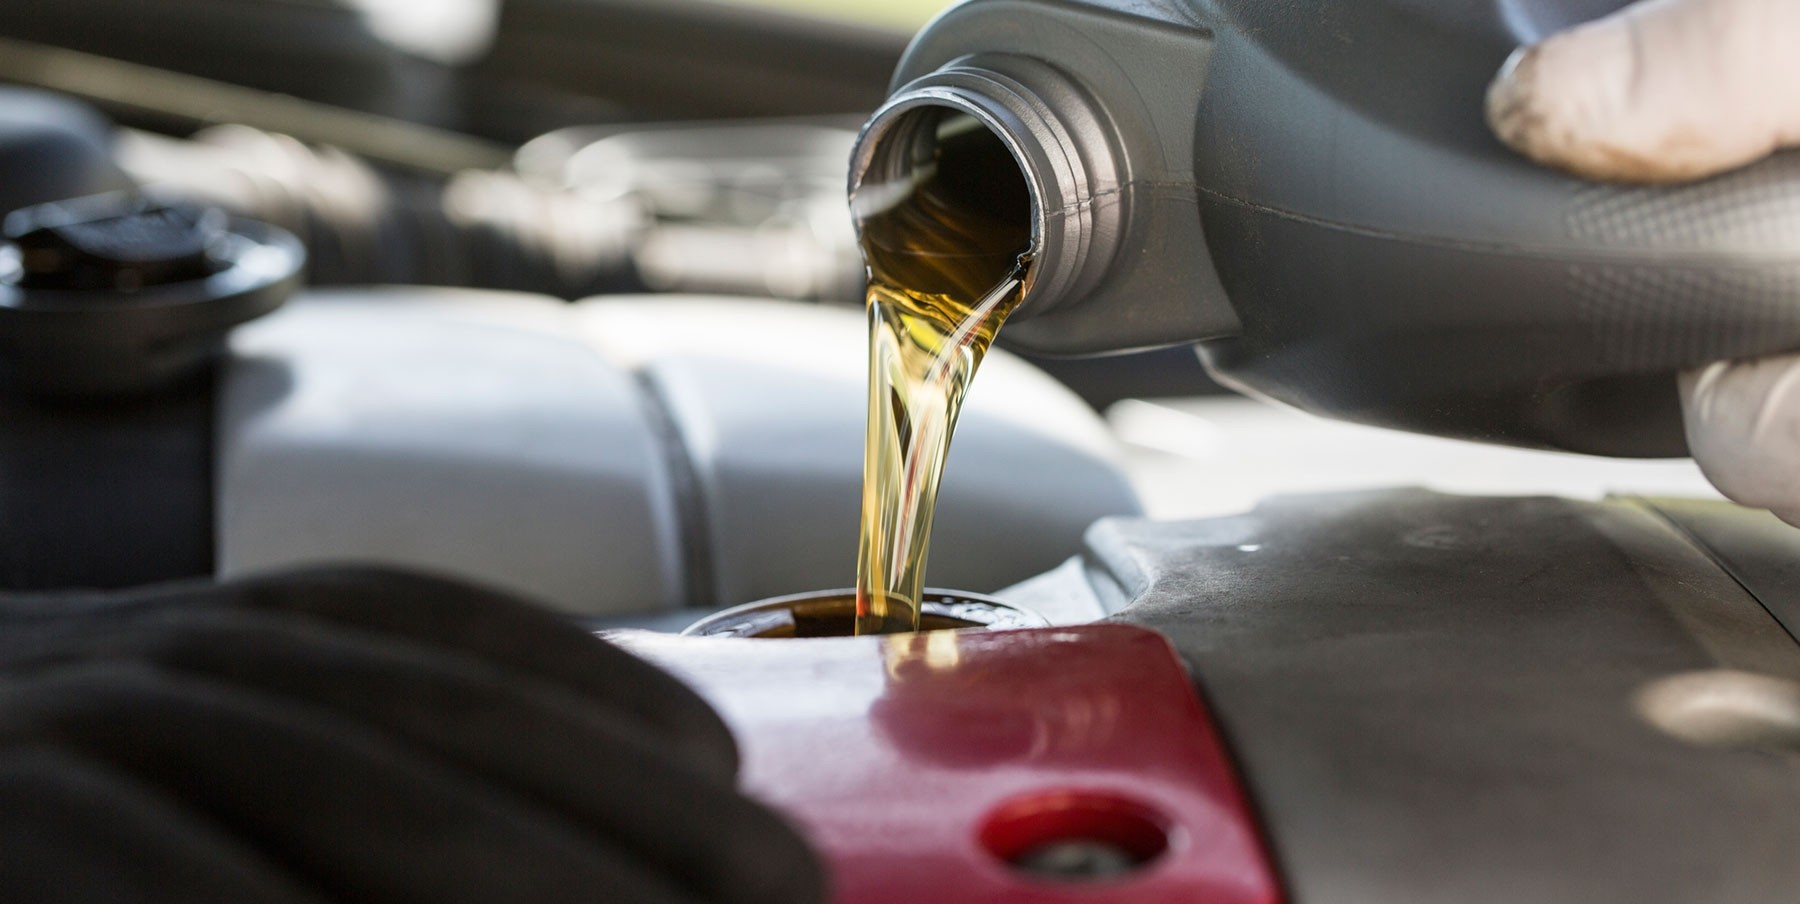
Explore These Valuable Tips for a Smooth DIY Oil Change
Discover the valuable insights and lessons learned from previous experiences before you embark on changing your engine oil.
When I first obtained my driver’s license, my late father took the time to teach me the process of changing oil in my car. We spent countless mornings in the Texas heat, ensuring that my vehicles were in optimal condition. While my father’s teachings were invaluable, there were certain aspects we discovered and learned along the way. While some of these tips may appear obvious, they will undoubtedly enhance your DIY oil change experience and make it more seamless.

Preparation is Key: Essential Steps for a Successful DIY Oil Change
Engaging in proper preparation work is essential before delving into any maintenance task. While it may seem like common sense, reading the car manual is crucial. Additionally, it’s helpful to open the hood and examine the vehicle itself a day before commencing the oil change. Take note of any obstructions that may hinder access to the oil filter. Determine the necessary tools required to safely maneuver and reinstall these obstacles.
Newer car models often have conveniently located oil filters near the top. However, older models may not prioritize accessibility. In my personal experience with two mid-1990s Ford cars, the oil filters were deeply concealed beneath multiple hoses. Accessing these oil filters required trial and error, consuming more time than the actual oil draining and replacement process.
Exercise Caution When Jacking Up the Car
Most cars are equipped with designated notches or a jacking plate, ensuring safe contact between the car and the jack. If your car possesses a jacking plate beneath the engine, it is crucial to carefully inspect and verify, multiple times, that the jack does not come into contact with any other components under the hood.
In my current vehicle, I encountered an incident while attempting to jack it up for the first time. The jack inadvertently made contact with my windshield wiper fluid reservoir, resulting in an unfortunate crack and subsequent leakage of wiper fluid. Lesson learned!
Secure the Rear Wheel Opposite the Jack Stands
To prevent any unintended rolling, it is advisable to secure the rear wheel opposite the jack stands. This can be achieved by using a brick or a piece of wood as a brace. Additionally, ensure that your parking brake is properly engaged.

Choosing Between Steel and Aluminum Jacks
There is a common misconception that aluminum jacks are less durable and safe compared to their steel counterparts. However, aluminum jack stands are perfectly capable of supporting the weight and ensuring stability. If you are on a tight budget, steel jacks are a more cost-effective option. In summary, both steel and aluminum jacks are suitable choices.
Applying Oil to the Filter Seal
To ensure a proper seal and prevent leaks when starting the engine, it is crucial to apply a small amount of oil to the filter seal. This can easily be done by using your fingertip to spread a thin layer of oil. I learned the importance of this step when I attempted my first solo oil change and received a stern lecture from my father for neglecting it.
Using a Metal Drip Pan for Oil Collection
To safeguard your garage floor or driveway, it is recommended to place a large metal drip pan underneath the oil collection container. These pans are lightweight, easy to clean, and facilitate the movement of the container without the need to be positioned under the car.
Opting for a Portable Oil Collection Container
Ensure that your oil collection container is designed for both collection and transportation purposes. This eliminates the need for pouring used oil from a collection pan into a potentially unstable funnel, which often leads to messy spills.
Proper Disposal of Used Oil Filters
In the past, my father used to discard used oil filters in the trash. However, it is now possible to recycle oil filters after draining the oil from them. Simply puncture the top dome of the used filter with a screwdriver and let the oil drain into your collection container. For information on recycling used oil and oil filters, you can refer to Earth911’s directory called iRecycleOil.com.
