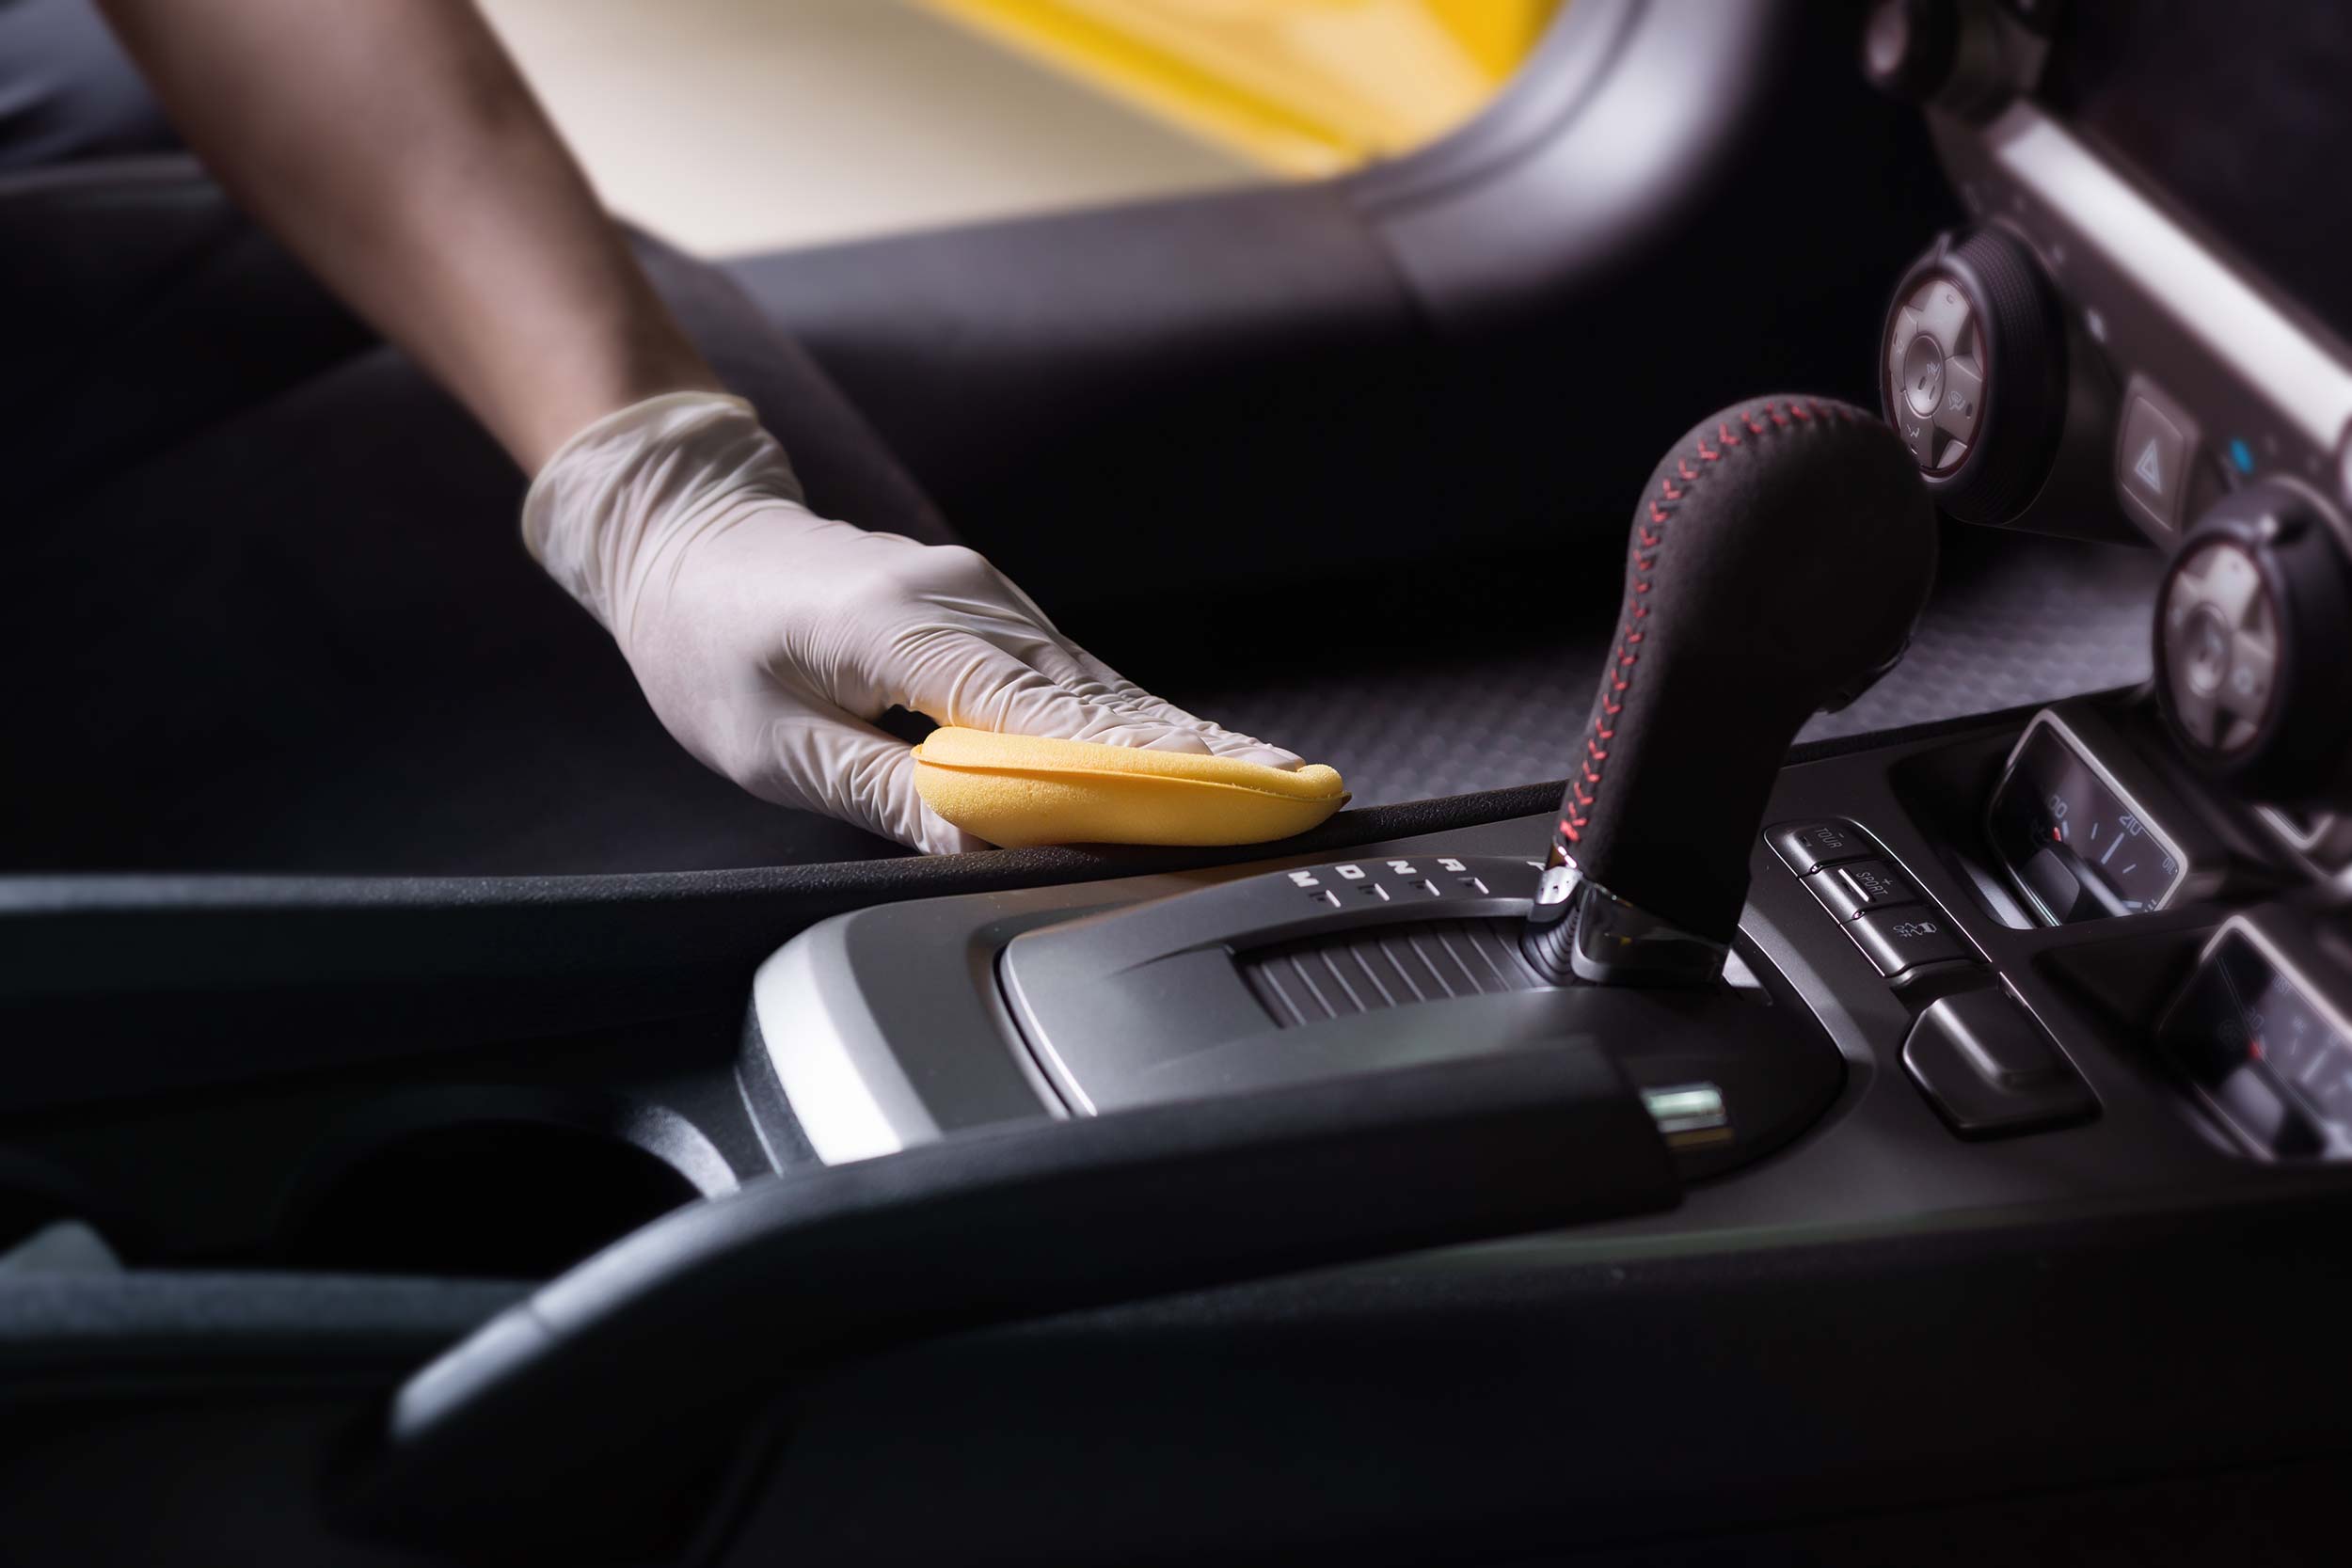
Is your car’s interior in need of a refresh? Reclaim its shine through a professional-grade interior car detailing that you can undertake on your own.

Increasingly, individuals are opting for professional car washes to maintain their vehicles. As per the International Carwash Association, in 2019, 77 percent of drivers reported frequenting professional car washes, a significant increase from the approximately 48 percent reported in 1994. A comprehensive professional interior car detailing service can range from $75 to $150 or even higher, depending on your location and the extent of detailing required.
Car interiors naturally accumulate dirt, dust, and grime, and frequent visits to car washes and detailing centers can accumulate costs. However, armed with some knowledge and clever strategies, you can clean your car with the finesse of a professional detailer. In this article, we present before and after car detailing photos that will leave you amazed.
Step 1: Equip Your Cleaning Arsenal
Forgo common household cleaners and opt for automotive-specific car care products designed for the task. Using household items like dishwashing soap can potentially damage automotive paint, interiors, and plastic surfaces, warns David Bennett, AAA repair systems manager. In addition to car cleaning products, gather essential tools such as cotton swabs, plush makeup brushes, microfiber cloths, a scrubbing brush, and a vacuum cleaner with brush and crevice attachments. If you prefer an all-encompassing cleaning product set, covering both interior and exterior detailing, John Peterson, editor of Safe Drive Gear and a senior sales manager at an auto retail outlet, suggests considering the 16-Piece Arsenal Builder Car Wash Kit.
Step 2: Declutter Your Vehicle
Take out the floor mats, large items like car seats, bags, and any other substantial belongings you keep in your car. Mike Pennington, Meguiar’s director of global training, event marketing, and consumer relations, advises promptly removing any trash as well. “Keep a small trash bag within reach to dispose of waste while on the road,” Pennington suggests. “This way, you can easily discard the bag and replace it with a new one as needed.
Step 3: Strategize Your Interior Car Detailing Approach
Vehicles present an array of nooks, crannies, and crevices. Prior to embarking on the cleaning process, conduct a thorough assessment of your car’s interior. Take note of areas exhibiting noticeable dirt accumulation and spots that might go unnoticed during regular operation of the vehicle. Mike Pennington identifies frequently overlooked areas, such as the space beneath the seats (to be accessed with caution), floor mats, and the rear surfaces of sun visors. John Peterson highlights air vents, cup holders, and storage compartments. David Bennett underscores the cargo and trunk areas, which are often neglected. Ensure you address these areas diligently, mirroring the practices of professionals.
Step 4: Surface Cleaning and Vacuuming
Subsequently, proceed with vacuuming the car interior and meticulously wiping down surfaces. While this may seem straightforward, achieving a car detailing-grade cleanliness necessitates a meticulous approach to cover every nook and cranny. Strive to work from top to bottom, though acknowledge the likelihood of revisiting certain areas. The confined spaces of a car can allow dirt to disperse, requiring revisitation to ensure no crevice is missed. Bear these invaluable car detailing tips and techniques in mind as you navigate this rigorous step:
1. Pre-vacuuming:“Prior to vacuuming, utilize a soft, natural bristle brush to dislodge dirt from all interior surfaces,” recommends Bennett.
2. Don’t overlook the headliner: This pertains to the fabric covering the inner roof. “Wrap a microfiber towel around a rigid nylon brush, then lightly agitate the headliner after spraying it with an upholstery cleaner,” advises Pennington. “This technique prevents over-saturation of the headliner with the cleaner.”
3. Adjust seat positions: “When vacuuming the interior, adjust the front seats to their maximum forward and backward positions to reach beneath them,” suggests Bennett. For reclining seats, Pennington suggests moving them as far as possible in both directions to access hidden dirt.
4. Utilize your tools: The crevice attachment for your vacuum cleaner is designed to fit into confined corners. Make regular use of it during your car detailing. Employ cotton swabs and makeup brushes for tasks such as cleaning air vents and areas around buttons.
5. Choose products wisely: Opt for cleaning agents specifically formulated for the material being cleaned. Additionally, apply a conditioner or protectant to vinyl or leather surfaces, if needed.
6. Inspect the spare tire: While cleaning the trunk, Pennington recommends inspecting the spare tire to ensure it is in good condition. Verify the presence of all tire-changing tools as well.
7. Exercise caution while spraying: “Always apply your interior cleaning solution onto a towel or detailing brush to avoid streaks and potential damage to electronics,” cautions Peterson.
Step 5: Window
Cleaning In the final phase, focus on cleaning the windows. Utilize specialized window wipes for effective results. Even though the emphasis is on the car’s interior, any external grime will become apparent as you view the surroundings through your newly detailed car interior. Take the opportunity to also clean the exterior of the windows.
Step 6: Floor Mat Maintenance
Begin by removing any loose dirt from the floor mats by shaking them out. Follow this with a thorough vacuuming, and proceed to scrub the mats with hot water and an automotive carpet cleaner, adhering to the manufacturer’s guidelines. Allow the mats to air dry completely.
Step 7: Reorganization
Once the interior car detailing is complete, carefully place the fully dried car mats back in their designated positions. Return any belongings you wish to keep in your car to their respective places, and readjust the seats and mirrors to their original settings. Now, you’re all set to drive in your freshly cleaned vehicle.
