
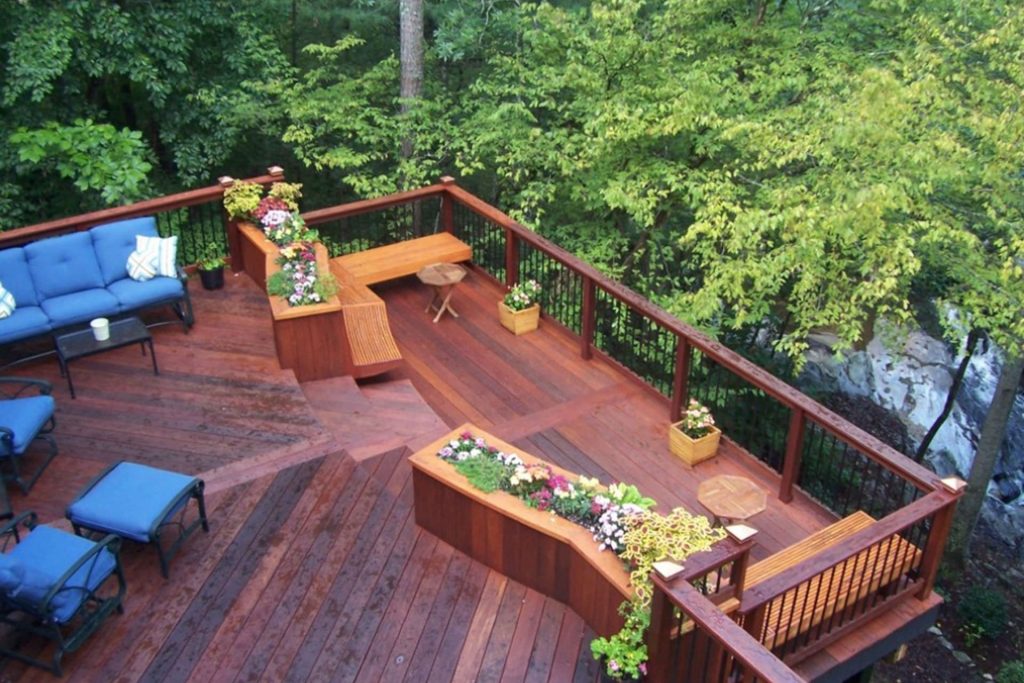
In the realm of DIY projects, constructing a deck ranks as one of the most favored undertakings, appealing to a wide spectrum of enthusiasts ranging from seasoned experts to weekend hobbyists. Who wouldn’t desire an ideal space to unwind outdoors, particularly when the weather is inviting?
However, the construction of a deck involves a substantial amount of effort, commencing from the meticulous planning phase to the final embellishments. As the old adage goes, when it comes to decks, the devil resides in the details. Achieving precision is imperative to ensure accurate positioning of joists, uniform spacing of railings, and other crucial aspects.
Depending on the type of deck being built, the inclusion of deck stairs might or might not be necessary. Although the discussion of stairs is beyond the scope of this context, should the need arise, the same meticulous attention to detail is essential.
The subsequent six recommendations for deck construction aim to facilitate the precise execution of every aspect when embarking on the construction of a deck.
1.Simplify Deck Joist Installation
offers a practical approach for installing deck joists, particularly when working solo. The suggested method involves affixing joist hangers to the ledger board before the joists’ installation. The crucial aspect lies in correctly positioning these hangers. Crafting a jig, as illustrated, utilizing a 5 x 12-in.
plywood piece and a 2×4 piece, tailored to the joist’s width, aids in ensuring accuracy. The jig aligns with the layout line, securely attached to the ledger board. By fastening the joist hanger around the 2×4 and using 16d galvanized nails through the holes into the ledger board, the hanger is firmly secured. Adjusting the 2×4 to the average joist width is crucial, considering potential variations in joist widths (sometimes deviating by as much as 1/4 in.).
Attaching the hanger flanges to the ledger board on both sides while allowing a minute gap on one side enables easy accommodation of a wet joist during installation. Should the joist sit too high, a notch at the bottom can be chiseled out, or shimming can rectify the situation if it sits too low.
2.Trimming Precise Notches
For accurately cutting a board around a deck post, a secure technique involves tightly positioning the deck board against the post. Employing a combination square, transfer the post’s location onto the board, ensuring a precise transfer of measurements for the notch depth.
When determining the depth of the notch, it’s essential to check both sides of the post. Posts may sometimes exhibit twists, leading to unequal measurements. Subsequently, using a jigsaw, proceed to cut out the notch with care and precision.
3.Straightening Warped Deck Boards
Despite the quality of the lumber provided by suppliers, a notable portion of decking boards often arrive warped. Rectifying bowed deck boards is an integral and customary procedure within deck construction. Initiating the process involves positioning the board with the bow facing inwards, securing one end with a nail. Subsequently, using a chisel, drive it into the joist and leverage the board towards you. Upon ensuring the board is tightly aligned with your spacer, proceed to affix it firmly to the joist.
4.Achieving Precision in Deck Board Trimming
The allure of a well-crafted deck lies within the minutiae. Employing a guiding board to direct the saw while trimming the decking ensures a sharper and more refined edge than what even the steadiest hand can produce.
To facilitate accurate trimming, affix a straight board as a guide for your circular saw onto the decking surface. Calculating the distance from the saw blade’s edge to the base plate, position the board to allow approximately a 1-inch overhang for the decking. While running the saw along the edge, ensure the saw plate remains parallel to the decking and snug against the guide.
Using a 2×2, similar to our approach, sight along its length from one end to confirm its alignment is perfectly straight. For the last two boards, a freehand cut is necessary. Mark the entire cutting line with a chalk line and maintain a steady, straight motion with your saw to achieve a precise cut.
5.Create a Tapered Post Cap
Introducing a cap atop your rail posts not only enhances the visual appeal of your deck but also serves to safeguard the exposed end grain of the post from the elements. While caps for 6×6 posts are typically obtained through special orders, an alternative method involves crafting your own using 2×10 materials, thereby saving both time and cost.
This specialized jig is constructed using 16-inch segments of 2×8 framing and 1/2-inch plywood, as depicted in the illustration. Precision in setting the plywood guide for the circular saw within the jig demands some experimentation. Fine-tune its positioning so that the blade creates a subtle reveal on the top surface of the cap. Subsequently, affix the cap to the posts using construction adhesive along with 3-inch galvanized finish nails.
6.Creating Uniform Spacing for Deck Balusters using a Jig
Crafting sections of deck railing becomes more efficient with the use of jigs, greatly favored by carpenters for their ability to streamline work processes. A practical jig comes in handy for aligning balusters on 3-1/2 in. wide rails while maintaining a consistent space between them, typically 4 inches or less.
During baluster attachment, initiating the process from the center ensures an equal residual space on each end. By measuring the overall length in advance, one can strategically commence with a baluster at the exact midpoint or begin with an opening centered — whichever approach brings the spacing between the final baluster and the post closest to the desired 4-inch maximum baluster opening.