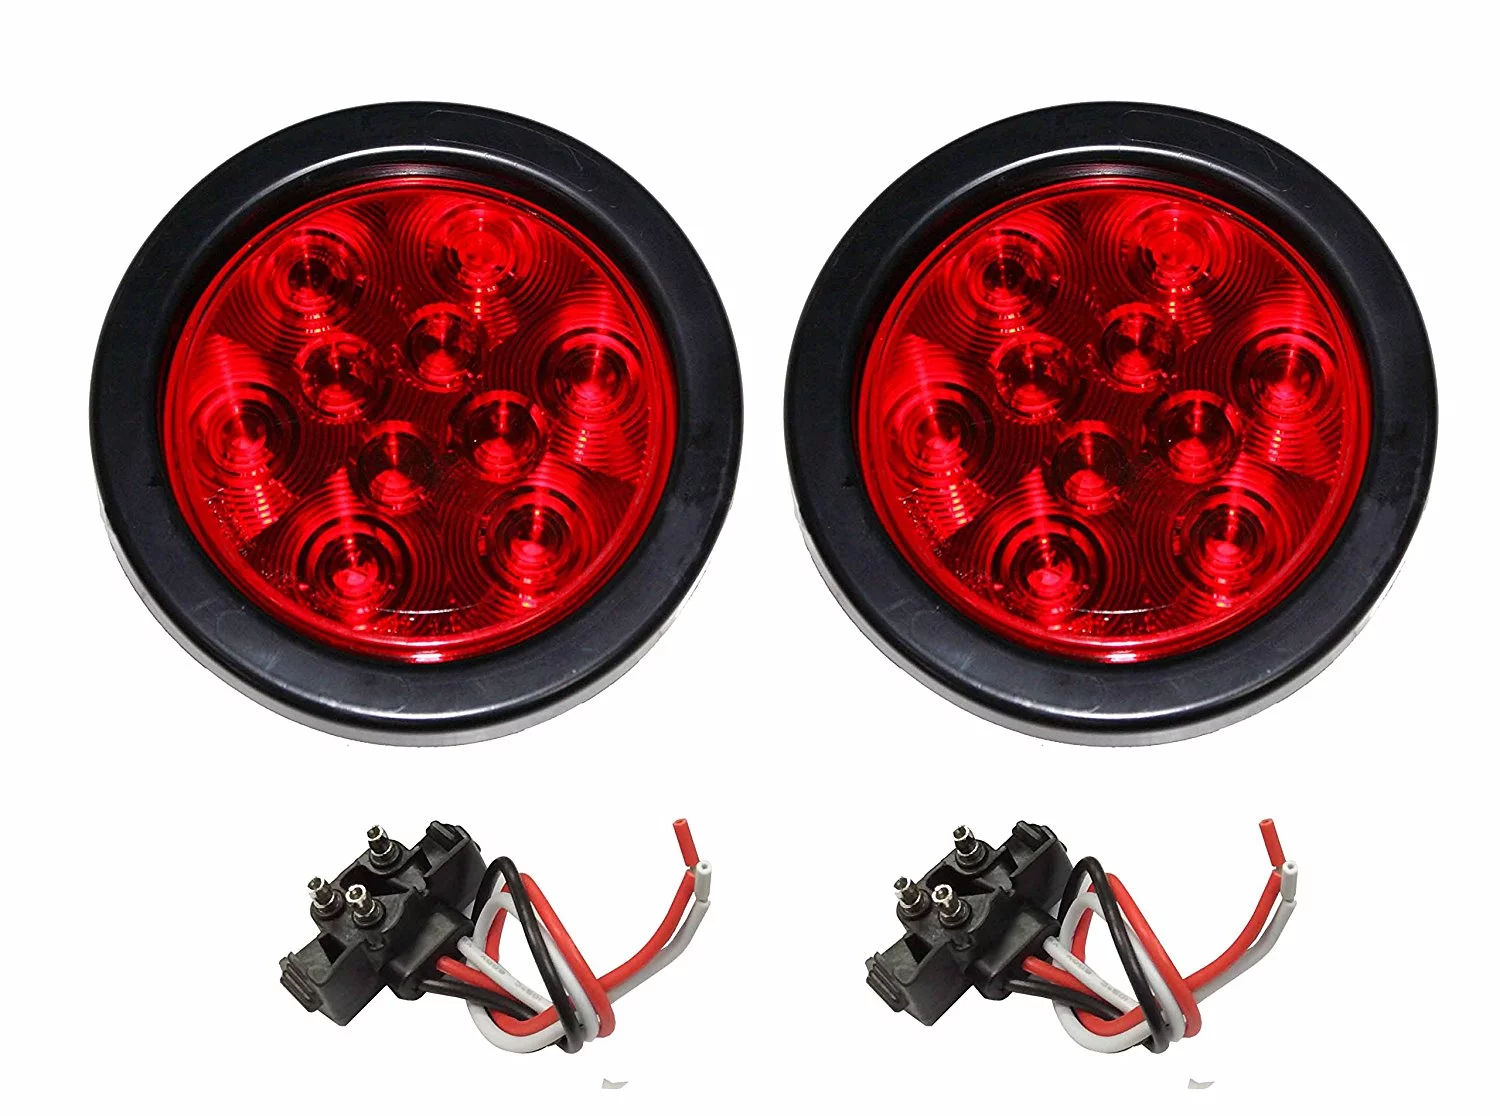
Trailer lights play a crucial role in ensuring safety and visibility while towing trailers, providing illumination for the trailer’s presence, indicating its movements, and alerting other drivers on the road. These lights typically include brake lights, turn signals, tail lights, and sometimes reverse lights.
They are designed to enhance visibility, especially during low-light conditions or adverse weather. Properly functioning trailer lights are essential for communication between the towing vehicle and other drivers on the road, indicating when the trailer is braking, turning, or reversing.
In recent years, there has been a significant shift towards LED trailer lights due to their durability, energy efficiency, and longevity compared to traditional incandescent lights. LED lights not only offer enhanced visibility but also consume less power and have a longer lifespan, reducing the need for frequent replacements.
However, maintaining trailer lights is vital. Corrosion, electrical connection issues, or physical damage can lead to malfunctioning lights, which compromises safety on the road. Regular checks and proper upkeep ensure that trailer lights function optimally, contributing to safer travels for both the towing vehicle and other motorists.
The maintenance of utility trailer lighting often encounters issues arising from bulb failures and corroded ground connections on the frame, with close secondary problems related to chafing connections. To provide a permanent solution, the adoption of LED lights accompanied by individual ground wires for each light fixture is recommended. The entire modification can be accomplished within a few hours.
We utilized a utility trailer light kit (Blazer International No. 127680, priced at approximately $54 on amazon.com), which includes a new harness. To complete the installation, a 16-gauge wire spool for individual ground connections, crimp connectors, and split loom wiring harness protectors can be procured from an automotive parts store.
Initiate the installation process by disconnecting the old trailer harness wires from each light and affixing a mason’s line. Subsequently, pull each line towards the trailer tongue and establish a connection between this ‘fishing line’ and the new harness and loom. Then, proceed to thread the new harness through the trailer’s frame. Finalize the utility trailer lights installation by utilizing crimp connectors and heat-shrinkable tubing.
Essential Tools for Utility Trailer Lights Installation Before starting the do-it-yourself (DIY) utility trailer lights project, ensure you have the necessary tools lined up to streamline the process and mitigate frustration.
- 4-in-1 screwdriver
- Crimper
- Heat gun
- Mason’s line
Necessary Materials for Utility Trailer Lights Installation To avoid last-minute inconveniences, prepare all required materials in advance for the utility trailer lights project. The following list outlines the necessary items:
- 16-gauge wire
- Crimp connectors
- LED trailer light kit
- Split-loom wiring harness protectors